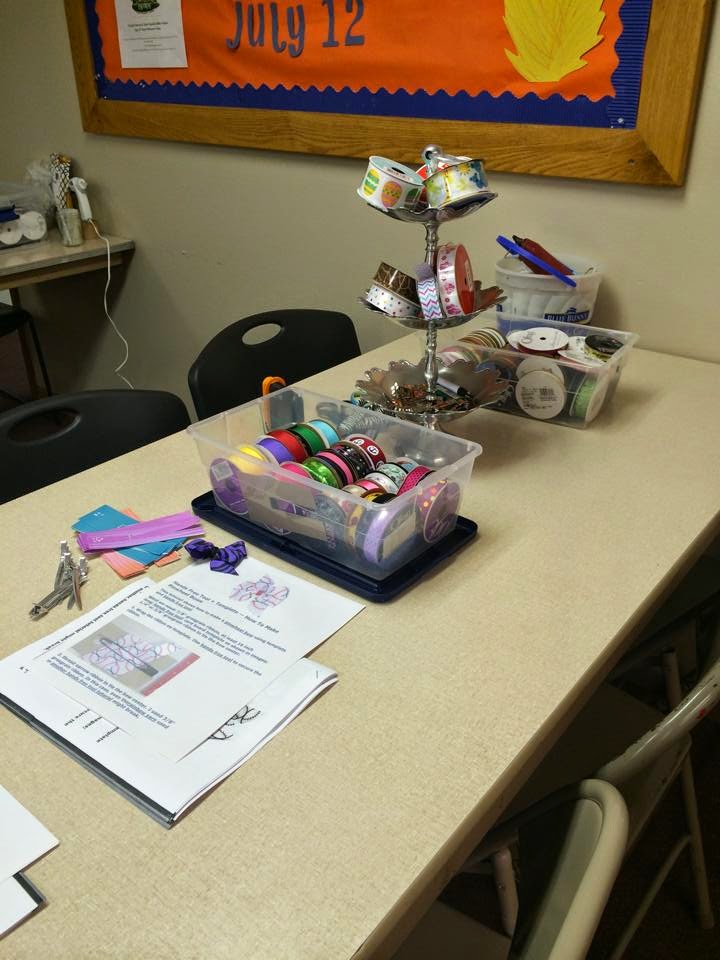
Last night I helped host a Bow Making Shower for a friend from my church, the Osceola Church of Christ , who is having a baby girl in August. Jess set up a lovely table setting and provided food and decorations with some help from the ladies from church. A fun time was had by all. We had a lovely time fellowshipping and crafting last night.
After eating and opening presents, it was time to get crafting and making some bows.
So after getting all my bow supplies ( a HUGE supply) which I bought last year to make bows, I decided that since I had all the stuff, I should get busy making more bows to sell online on my Etsy website: B~Wear Designs
, at Crafts Shows and local Farmers' Markets. So, as I laid in bed last night and looking through Pinterest, I saw all these DIY bow makers and such. As with most things, I think I can do that or at least I can get my husband to do that. Anyway, I knew that we had left over scraps and dowel rods in the shop so I decided the next day, TODAY I would attempt to make it on my own. It seemed pretty simple enough I would save money and who isn't up for saving money and attempt to make it myself. Below is the results that I accomplished. I decided to make two different ones. I made wooden bow maker and then my version of the bowdabra. I have yet to make bows but, will plan on posting pics when I can.
The Wooden Bow Maker:
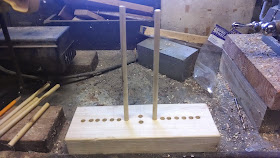
Here is what I did to make this bow maker, you can find instructions on the internet on how to make this type. I did change a few things though. I thought I would add some pegs to hold the middle ribbon that you tie around the bow. As you can see I drilled holes in the wrong places, but since this is for me, I don't care if there is an error, a minor one but it is there. These things happen especially when it was done on the spur of the moment.
So, I found the center of the spare 2 x/4 piece of wood that was left over from when my husband made the Giant Jenga game for me. Then I marked 1 inch on each side of the center and then followed by making 1/2 inch marks up to 4 inches. After drilling the holes (not all the way through the piece of wood, I had to guess how deep I should go), I used a 5/16 dowel rod that I had a sawed in several pieces and then sanded. Then placed them in their holding spots. Make sure when drilling you make holes big enough yet tight so that you can move/remove the dowel rods.
The Dowel Rod Bowdabra:
While I was at it in the shop and had extra pieces, I thought I would make a version of the bowdabra.

I didn't feel like taking the time in using solid wood pieces and such so, I decide to use several pieces of dowel rod, not sure if this version will work, but I don't think it hurts to try. I see tutorials on using this and I wanted to give it a try. I hope that these two bow makers will make bowmaking easier.
To make this version, I basically followed somewhat the instructions on making the Wooden Bow Maker.
I found the center of the block then, made lines for 1 inch from the middle on the top and bottom. Then I marked 1/2 marks from the center of those lines 3 times. I drilled holes and sawed 12 four inch long pieces of 5/16 inch dowel rods and sanded them a place them in the holes.
I have to say that I am pretty proud of myself. Of course, a while back my husband had to show me how to use the drill press when I started making my clothespin dolls which is for another post. But, with just a little know how, I was able to make these two bow makers.


No comments:
Post a Comment