About Us

Because a girl who grew up in the south most of her life, met her husband while in Italy and moved to Iowa in 2003. She is now a transplanted southern girl who's life has changed in many ways since moving to the Midwest. Now wanting to share her life, this blog began ...............
Showing posts with label DIY~Do It Yourself. Show all posts

Wednesday, June 25, 2014

DIY - Bow Makers

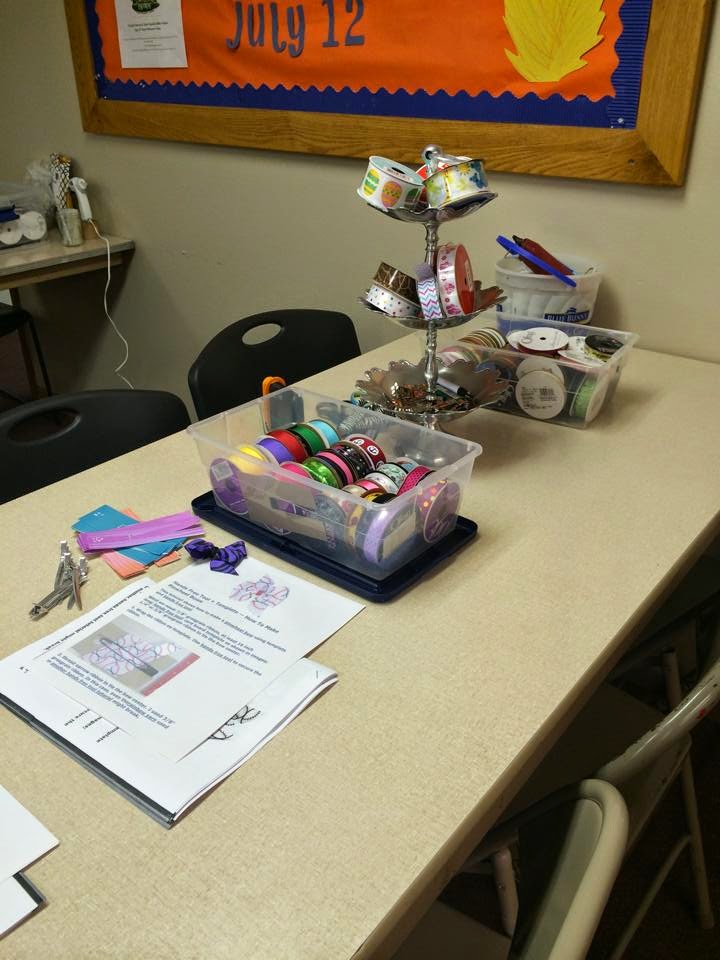
Last night I helped host a Bow Making Shower for a friend from my church, the  Osceola Church of Christ , who is having a baby girl in August.  Jess set up a lovely table setting and provided food and decorations with some help from the ladies from church.  A fun time was had by all.  We had a lovely time fellowshipping and crafting last night.    


After eating and opening presents, it was time to get crafting and making some bows.  


So after getting all my bow supplies ( a HUGE supply)  which I bought last year to make bows, I decided that since I had all the stuff, I should get busy making more bows to sell online on my Etsy website:  B~Wear Designs
, at Crafts Shows and local Farmers' Markets.  So, as I laid in bed last night and looking through Pinterest, I saw all these DIY bow makers and such.  As with most things, I think I can do that or at least I can get my husband to do that.  Anyway, I knew that we had left over scraps and dowel rods in the shop so I decided the next day, TODAY I would attempt to make it on my own.  It seemed pretty simple enough I would save money and who isn't up for saving money and attempt to make it myself.  Below is the results that I accomplished.  I decided to make two different ones.   I made wooden bow maker and then my version of the bowdabra.  I have yet to make bows but, will plan on posting pics when I can.  

The Wooden Bow Maker: 

Here is what I did to make this bow maker, you can find instructions on the internet on how to make this type.  I did change a few things though.  I thought I would add some pegs to hold the middle ribbon that you tie around the bow.  As  you can see I drilled holes in the wrong places, but since this is for me, I don't care if there is an error, a minor one but it is there.  These things happen especially when it was done on the spur of the moment.  

So, I found the center of the spare 2 x/4 piece of wood that was left over from when my husband made the Giant Jenga game for me.   Then I marked 1 inch on each side of the center and then followed by making 1/2 inch marks up to 4 inches.  After drilling the holes (not all the way through the piece of wood, I had to guess how deep I should go), I used a 5/16 dowel rod that I had a sawed in several pieces and then sanded.   Then placed them in their holding spots.  Make sure when drilling you make holes big enough yet tight so that you can move/remove the dowel rods.  


The Dowel Rod Bowdabra: 


While I was at it in the shop and had extra pieces, I thought I would make a version of the bowdabra.  

I didn't feel like taking the time in using solid wood pieces and such so, I decide to use several pieces of dowel rod, not sure if this version will work, but I don't think it hurts to try.   I see tutorials on using this and I wanted to give it a try. I hope that these two bow makers will make bowmaking easier.  


To make this version, I basically followed somewhat the instructions on making the Wooden Bow Maker.  
I found the center of the block then, made lines for 1 inch from the middle on the top and bottom.  Then I marked 1/2 marks from the center of those lines 3 times.  I drilled holes and sawed 12 four inch long pieces of 5/16 inch dowel rods and sanded them a place them in the holes. 


I have to say that I am pretty proud of myself.  Of course, a while back my husband had to show me how to use the drill press when I started making my clothespin dolls which is for another post.  But, with just a little know how, I was able to make these two bow makers.  


Monday, January 27, 2014

Quick & Easy Tablet & Smart Phone Holder

This past weekend, I received a message from my nephew wondering what my son was up to and wanted to Skype with him.  So, I need something to hold my Kindle Fire up so that they could video chat and I looked around my living room.  Oddly enough I still had these hanging up.  

We don't do much decorating for the Christmas Season but, I do occasionally hang a few decorations up for the kids.  I had the stocking mantle hanger bought to hang stuff up to display my crocheted items at crafts show and winter markets in the area.  Then, decided to use them for the kids stockings since they were being unused in the house.  Now, it is getting used as something useful for everyday use.  This also good to use in the kitchen when looking at recipes while your are baking or cooking.  I took pictures of my husband's Nexus to share with you guys how I used this as a stand.  He used it while cooking pasta sauce this weekend as well.  I hope to share with you guys the recipe we use one day in the future.


Saturday, January 25, 2014

Home Made Lotion

Well, it is the time of year where I suffer from dry itchy skin.  I wanted to give a stab at making my own lotions. We recently purchased 5 goats, this past fall and two of them are milking goats.  I wanted to make a goat milk lotion as we have the goats but, that will have to wait since my milking goats are not producing milk.   So, I am looking forward to all the products that I can make from goat milk.  Soaps, Lotions, Cheese and much more.  So, until then, I thought I would just look and find something from store bought items and see how that worked.  I found a recipe by  Creatively Southern for the Cure for Dry Winter Skin.  


This recipes says that it makes eight 8 ounce wide mouth Ball canning jars.  She made these as gifts which is a good idea but, for myself, I didn't want that much so I cut the recipe in half. Plus I wanted to see if I liked the lotion before I made more of it.   I wanted to know if it really worked on my dry winter skin, especially on my back, one of favorite products is my bear claw back scratcher.  


Here’s what you’ll need for a Large Batch of Lotion or you can do what I did & cut the recipe in half.  I used my weight scale to get the amounts needed.  You can get all these ingredients at Wal-Mart instead of driving around to different stores.  

(8) - 8 ounce wide mouth Ball canning jars 
27 oz. bottle of baby lotion 

7 oz. Aquaphor or generic brand therapeutic ointment.  

(2)-4 oz. containers of Fruit of the Earth Vitamin E cream

8 oz. extra virgin coconut oil (the solidified kind).


This is a simple recipe to follow.   Just mix everything in a large mixing bowl. I used my hand mixer to combine everything until it was smooth and creamy. This can take a while.  Mine still ended up a bit lumpy from the solidified coconut oil, I think if and when I make this recipe that I will put the coconut oil in the microwave a bit.


When everything is smooth and creamy, spoon the mixture over into your jars and that’s it!   I had enough to fill almost two containers that I found around the house.  I have no verdict on whether or not this works for me or not.  I shall update later when I have been using this lotion for some time.